the background {how to have a light & airy wedding}
There are three factors that go into achieving a ‘light & airy’ wedding: the wardrobe; the background; & the time of day.
Part 3 // The Time of Day // coming soon!
The Background
Key Point: Dark environments generally produce dark ‘looking’ photos.
Barns made of dark wood, rooms painted a rich or deep color, or spaces lacking in natural light coming through windows all fall under this category.
dark colors soak up light
Key Point: If your venue features richly painted walls or ceilings, or boasts old dark barn wood, the background of your photos will be dark (or at least appear dark.)
We learned this in elementary school: The darker a material is the less light reflects back at you. White walls reflect all of the light; black walls reflect hardly any. I’m sure the science side of the internet is cringing at my description, but you should hopefully follow what I’m saying.
Rest assured that photographers who are comfortable working with OCF (off camera flash) can light a room with artificial lighting combating dark colors & materials, HOWEVER, no amount of artificial lighting can make a red wall be anything but a red wall.
Just a well-lit red wall.
And red walls are not considered light or airy in most people’s books.
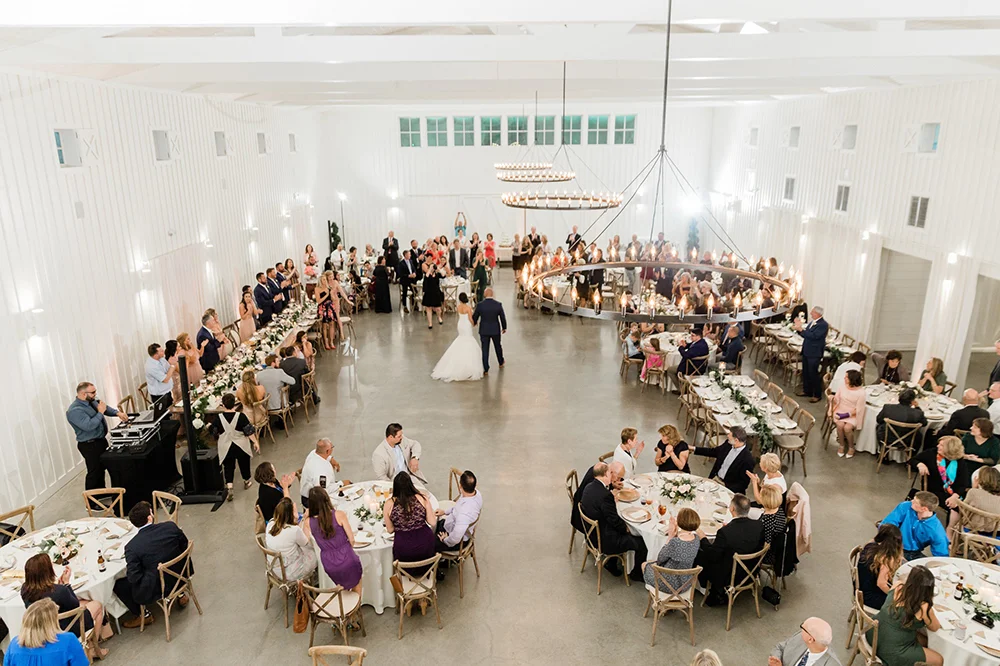
What I love about the two reception hall photos below, is that they were taken two days apart. The same equipment. The same OCF set up. The same editing. The only difference was the material & color on the walls.
I’ll repeat, even if the space is well lit, the backgrounds will still appear dark.
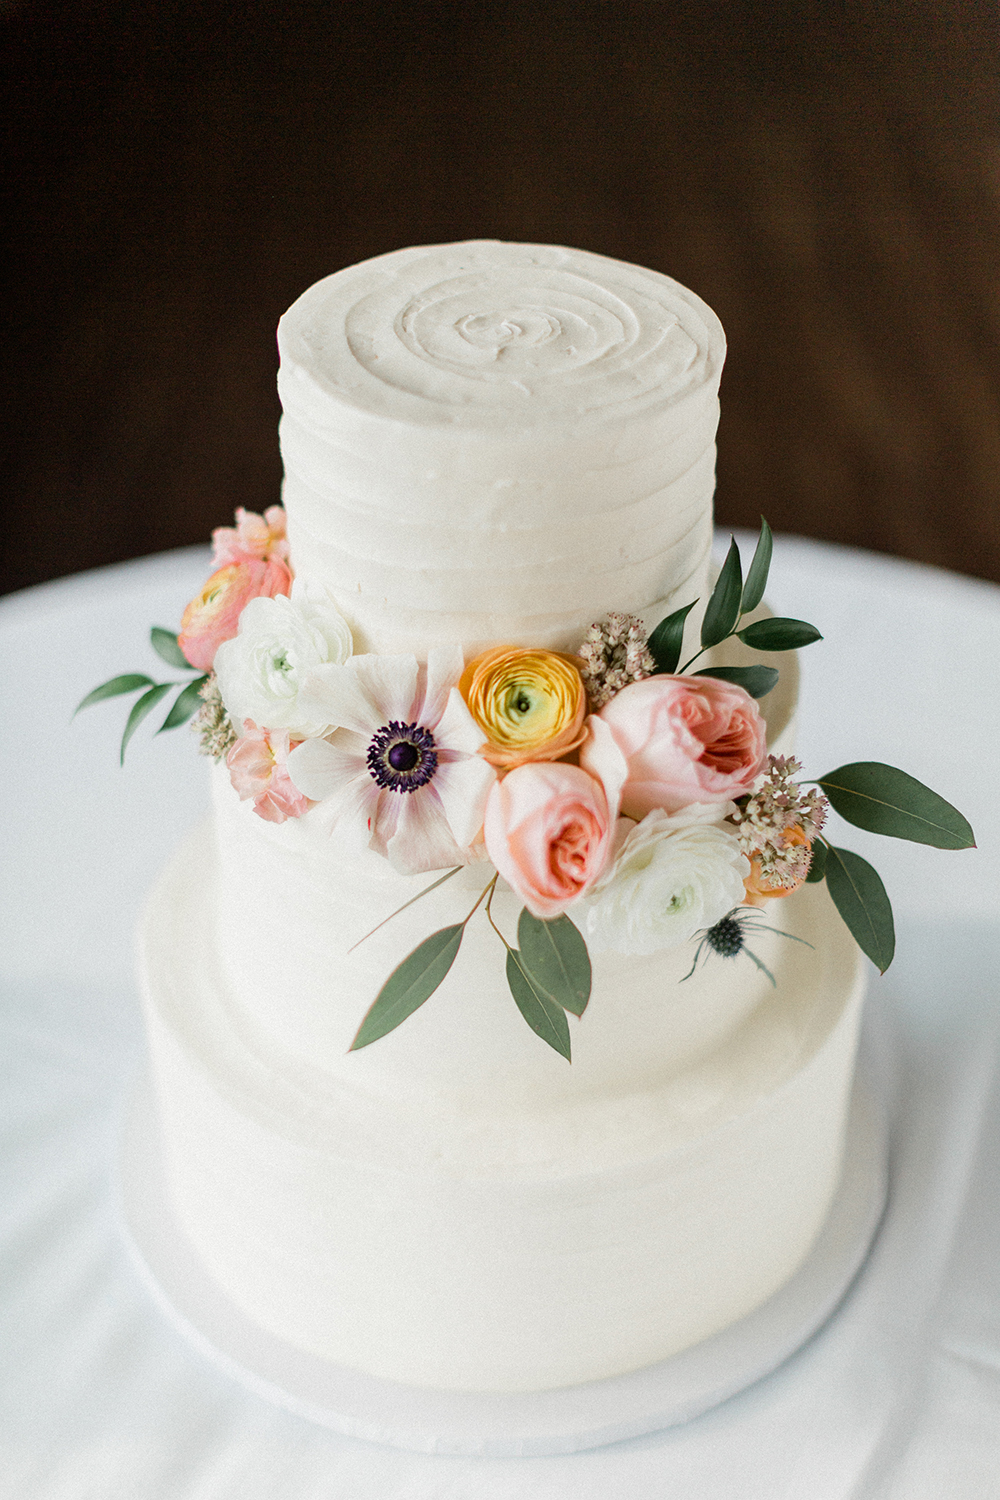
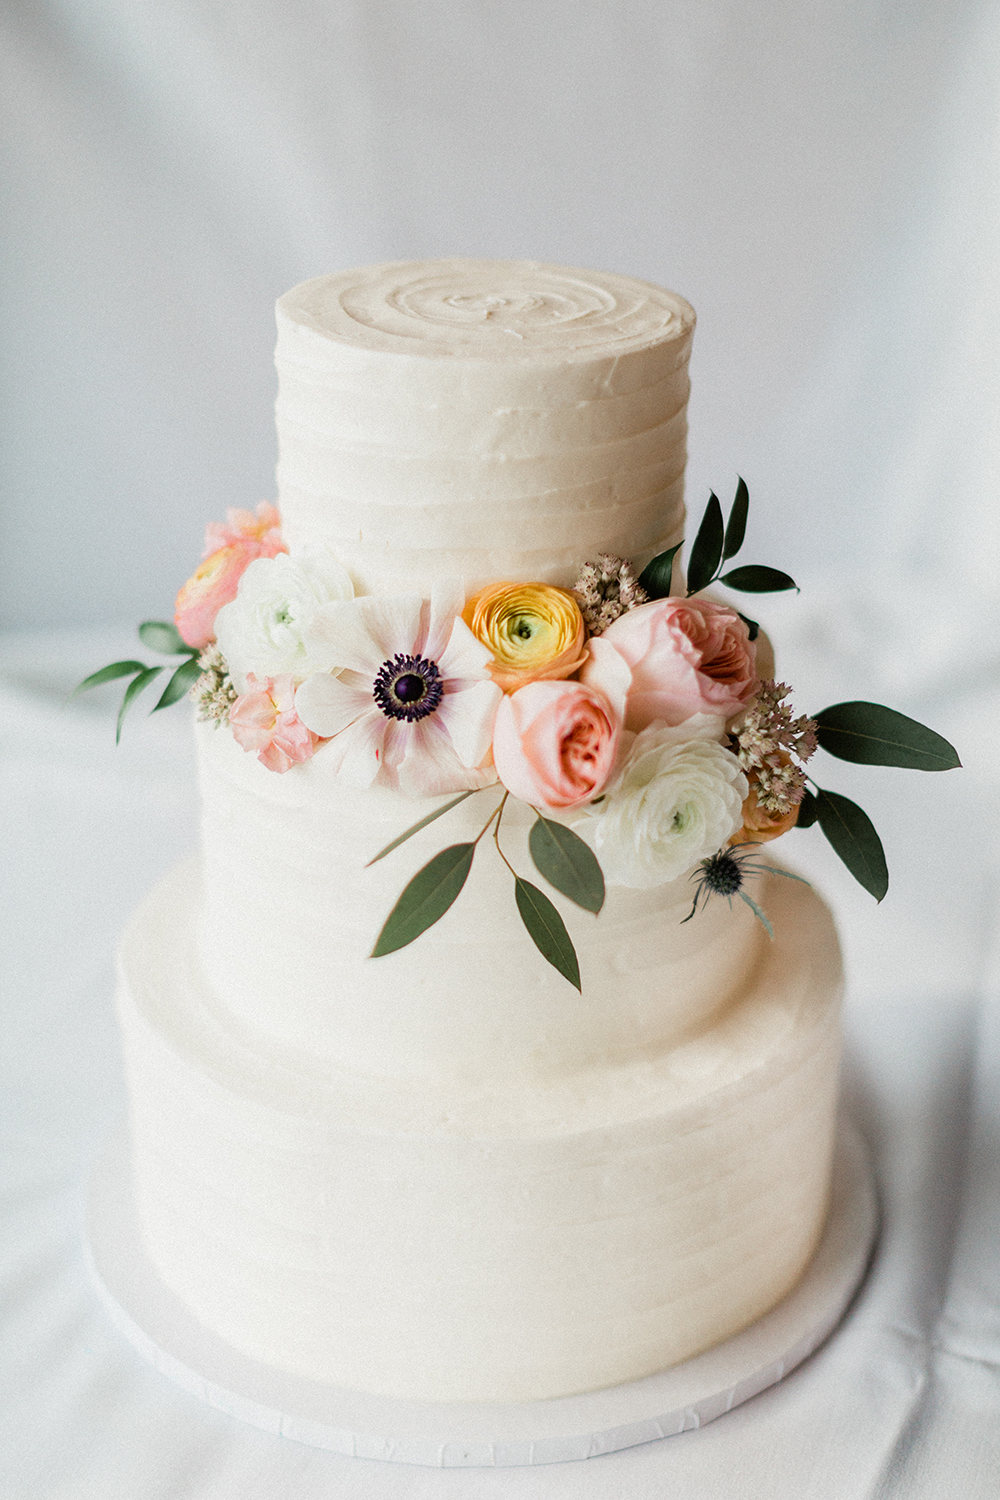
Another example I love: the cake.
At this gorgeous wedding, I was taking photos of their white cake on a white table cloth. However, after the first photo, I realized how distracting the background was (a dark wood floor). I had my assistant raise the table cloth & viola. Instant light & airy photo. Nothing changed, just a simple adjustment of the background.
interior spaces lacking in natural light
Key Point: If your indoor space is lacking in natural light (sun light coming through windows or skylights), the background of your photos will be dark.
Unlike the point above though, if the space is painted white or a lighter color, this is much easier to work with. Artificial lighting can be used to brighten up the space resulting in photos that would be considered light & airy.
Window light is a photographer’s best friend, so you’ll notice that we photographers like to bring our subjects as close to windows as possible. The farther away from the window you get, the darker comparatively.
A sub-key point: Subjects closer to the window will be brighter than those in the back of the room. The more evenly lit a space naturally is, the better!
I had a mother of the bride once ask for some photos in front of the enormous windows in the dining room of a historic home. I had to break her heart a little & educate her on how those photos probably won’t end up quite like she was envisioning. I had worked at this venue before & knew the space well. Yes, the windows in that room were indeed extremely large, but they were covered in incredibly dark screens that barely let any light through. The room was also painted a ghastly yellow that wasn’t helping the cause. As of writing this, studio lighting is not yet my forte (working on it!). Between the equipment I had at the time & the lack of time & knowledge to properly set up & light the space for what she wanted was just not feasible. Thankfully she listened & understood everything, & even later agreed that the room was much darker than she initially realized. I just hated that I couldn’t deliver what she wanted. Rest assured we did get plenty of gorgeous photos of the bride outdoors on their beautiful lawns.
outdoor spaces during the day
The same principles apply: Look for lighter colored buildings or backgrounds.
outdoor spaces after sunset
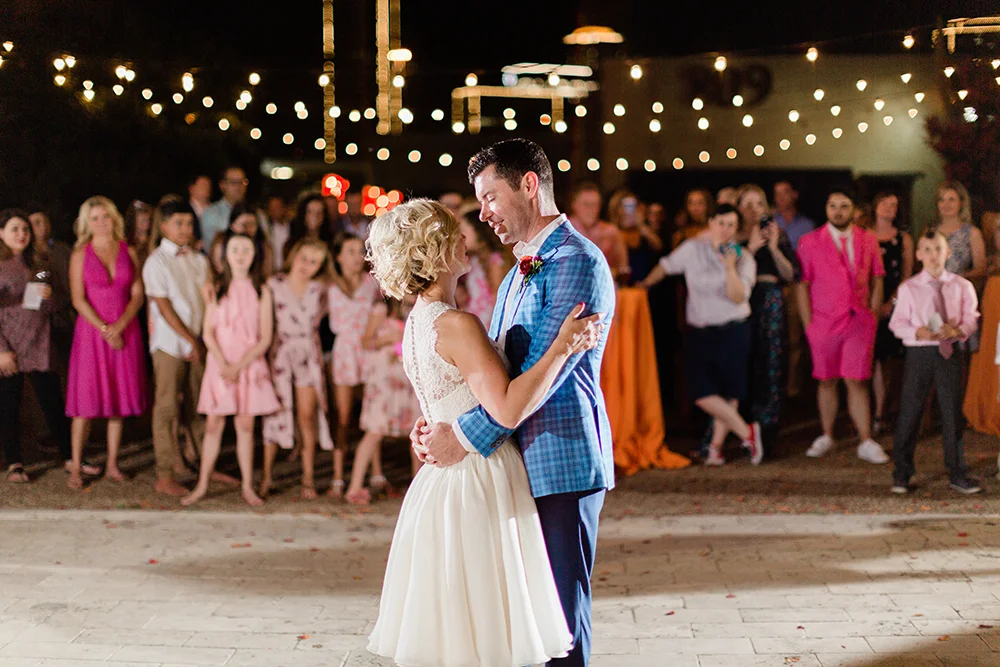
I once assisted another photographer at a wedding where zero thought was put into the lighting once the sun set. The entire day was held outdoors (don’t get me started on the amount of mosquitos present) including the reception. Tables were set up on the lawn of a historic home, & at first glance, it was lovely. Mosquitos notwithstanding. However, after sunset, the only light was coming from the tiny tea lights on each table (3 lights each). No twinkle lights. No flood lights from the house. No street lamps. No nothing. Not even lightning bugs to befriend the mosquitos. This was not NEAR enough light for anybody to see by, let alone for cameras to properly focus. We had no choice but to stop taking photos & wait for the DJ to turn his strobes on & hang out as close to the dance floor as we could. (The lead photographer didn’t use OCF so we were extremely limited.)
Outdoor spaces are going to be a bit tricker to get light & airy photos after sunset, especially if it’s open air &/or not close to any walls or structures. Photographers will approach these types of situations differently, so make sure you have a good expectation of what your photographer can do.
The reception photo below was the same space as the ceremony photo above, just a different time of day.
What to look for when venue hunting:
Look for lighter materials on the ceiling, & walls for interior spaces, & lighter colored exterior walls for outdoor events.
Look for large & numerous windows throughout each & every space.
Our eyes adjust extremely quickly, therefore we don’t always recognize when a space is dark. When you’re visiting sites, pay attention to how much your eyes need to adjust when seeing a space for the first time.
Read the other posts in this series:
